Want to Learn
How to Make a Necklace?
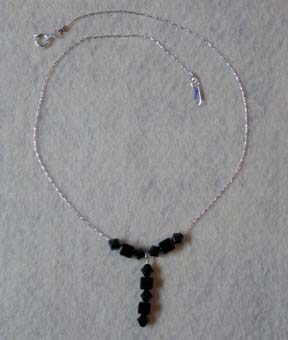
Learning how to make a necklace really isn’t all that hard. I made this one for my daughter to wear to Homecoming. It uses a chain as a base instead of jewelry wire, or thread. When making beaded necklaces, you can use anything as a base, as long as the holes in your beads are large enough to slide over it.

How to Make a Necklace
Using Chain Instead of Wire

Crystal Drop Necklace Components
What I used (alternatives):
Cut your chain or wire, to your desired length.
(If you’re using wire, be sure to add extra for crimping. See Bracelet Making for further instructions.)
 Attach one loop crimp end.
First you want to crimp your loop crimp end onto one end of the chain.
(If you are using wire, please see the instructions for using crimp beads in bracelet making.)
The ends I used were so small, I was unable to get a picture of this process. This picture shows both ends already in place. Basically, you fold over the tabs on the crimp end, enclosing the chain inside. Make sure it is crimped tightly, or the chain will just slip out of the flattened tabs.
 (This is a close up of the order the clasp components go together.)
A loop crimp end, a jump ring, then the clasp end or clasp.
Make your dangle.
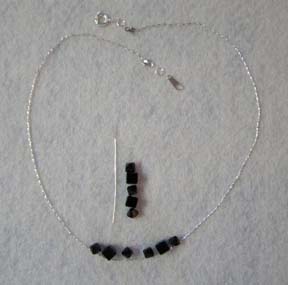
I created my dangle next. Slide the crystals, or beads, onto the head pin.
(I alternated 3 briolette and 2 square crystals, beginning and ending with the briolettes.)
Leave enough space at the top to wire wrap a loop.
(You can watch a video of this process in making earrings.)
 String beads and dangle onto chain.
This is the step you want to take some time preparing before you do it. Once you determine how you want the finished necklace to look, make sure that you string the beads onto the wire or chain in the proper order. Usually, it a pattern to the center point, the dangle or pendant, then the same pattern repeated in reverse.
Attach the other loop crimp end to the end of the chain.
 Open your jump ring.
I usually do this using two sets of pliers, it protects my manicure! You can use your fingers, but it is much easier with pliers.

Slide the open jump ring through the loop on the crimp end.
 Add your clasp end to the jump ring.
Close your jump ring.
Make sure the edges line up seamlessly. This will prevent the jump ring from opening and letting the clasp end, or the chain from coming off.
Your clasp end should now be firmly attached.

Slide the open jump ring through the loop on the other crimp end.
 Add your clasp to the jump ring.
Close your jump ring.
Once again, make sure the jump ring edges line up seamlessly.
Your clasp should now, also be firmly attached.
You now have a finished product! Wear it with pride!
(See, told you learning how to make a necklace wasn’t that hard!)
Use this same process when making beaded necklaces of all types. Whether you’re using beads, crystals, wire, chain or cord All you have to do is change up a few of your findings.

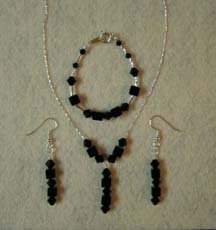
Entire set I made
Learn how to make the bracelet
Learn how to make the earrings
♥♥♥♥♥♥♥♥♥♥♥♥♥♥♥♥♥♥♥♥♥♥♥♥♥♥♥♥♥♥
Want to
Sign up for My Newsletter?
♥♥♥♥♥♥♥♥♥♥♥♥♥♥♥♥♥♥♥♥♥♥♥♥♥♥♥♥♥♥
Return to Jewelry Gifts
Return from How to Make a Necklace to Home